How to Install, Remove, and Manage Fonts on Windows
How to manage Fonts on Windows can be handy when you have too many fonts installed and this can slow down your computer. This happens with all available operating systems – Windows, Mac OS X, and Linux.
Install a font on Windows OS
Once you have downloaded your font file, go ahead and open the folder where your font is saved. Now double-click on the font file. The font on Windows needs to be OpenType (.otf), PostScript Type 1 (.pfb + .pfm), TrueType (.ttf), or TrueType Collection (.ttc) format. If the font file comes in an archive — such as a .zip file — extract it first.
Your font is now installed! You can manage Fonts on Windows from the control panel. If you open a program like Word, you’ll see it should now be there in the list of fonts. You can select it and start typing with the new font.
if you have installed Windows 10 on “C” drive and have a font in “J” drive, the font file will not be moved to “C” drive when you install a font using its shortcut. Instead, Windows will only create a shortcut of the file in Fonts directory. A font installed using a shortcut can be used like any other font installed directly in Fonts directory.
How to Delete a Font
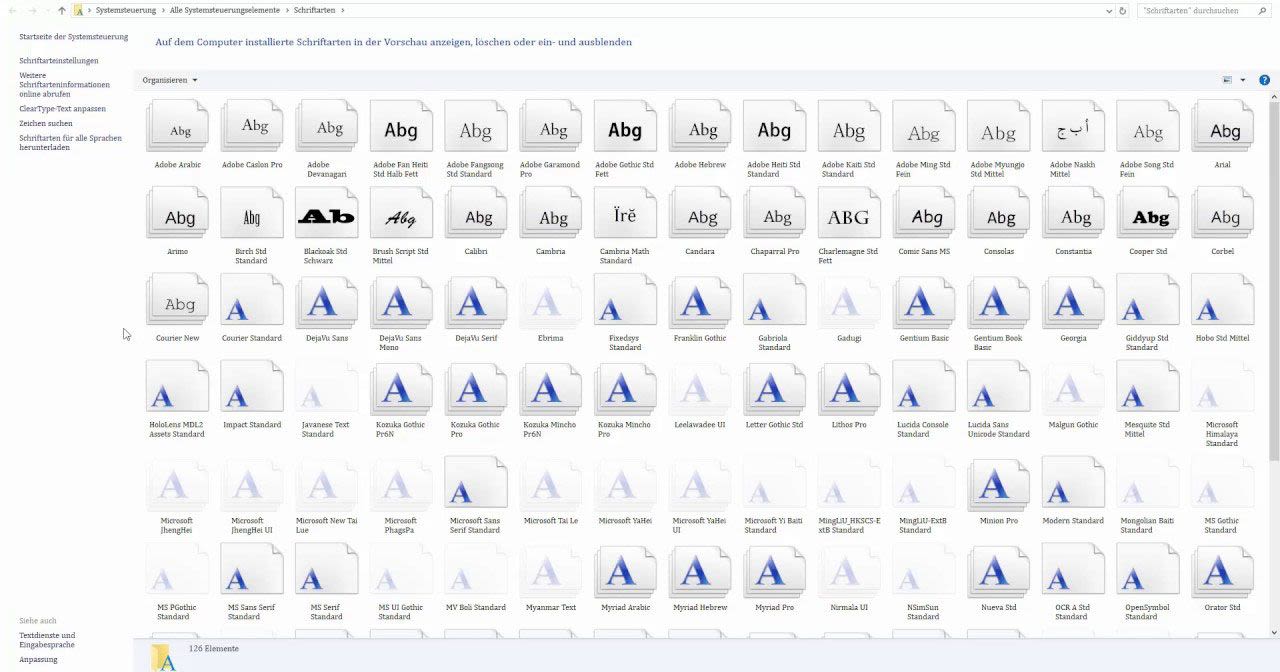
Deleting a font is almost just as easy. First, open Control Panel and click on the Fonts folder. If you’re in Category view, go ahead and switch to Icon view.
Select the font you want to delete and then click the Delete button towards the top of the window.
Your font should be removed from your system. We recommend restarting the system after removing fonts. There are situations when you might get a message stating that the font cannot be deleted because it is in use.
This means that some program is still using that font. You should first close all programs and try again. If that doesn’t work, try restarting your computer and then deleting the font. You can also try restart in Safe Mode and then try to delete it.