
How to take a screenshot on a PC
No matter what platform you are using, at some moment you’ll always need to take a screenshot. For beginners and professionals Windows 10 is a good operating. Microsoft has always been improving the experience on Windows 10 with new features or useful apps and improving security.
In Windows 10 you have a few options to do this. Here we’ll go over the most popular ways to do that.
Take a Screenshot with a Keyboard Shortcut
Without saving to a file
This is probably the simplest and one of the oldest methods is to hit the Print Screen (PrtScn) button next to the F12 key, open your preferred photo editor or you can just use Paint, and paste the screenshot in using Ctrl-V. But in some situations, this method may not be the most useful.
Saving to a file
If you want to save the screenshot to your User folder then press Windows and “print screen” keys at once and an image will be saved as PNG. All screenshots taken using this method will be saved in the following location in Windows 10 PC. The print screen key has name ‘prt scr’ on your keyboard. The images will be automatically numbered as Screenshot(1).png, Screenshot(2).png, etc.
C:\Users\[your user name]\Pictures\Screenshots
Advanced Print Screen Features
If you want to take a screenshot of a foreground application, you can use the Alt key when multiple applications are running and open at the same time.
In some cases, you may not have a dedicated PrtScn key – for example: if you are using a tablet or laptop, you can typically use the function key (Fn) to activate these capabilities. In this case, instead of pressing PrtScn, you need to press Fn+PrtScn to take a screenshot, Fn+Alt+PrtScn to take a screenshot of one specific window, etc.
If you are using Microsoft Surface Touch Covers or Type Covers you have to use Fn+Spacebar to do this and Fn+Alt+Spacebar takes a screenshot of a specific window. If you are in tablet mode you can use the Windows Logo + Volume Down button.
Take a Selectable Screenshot
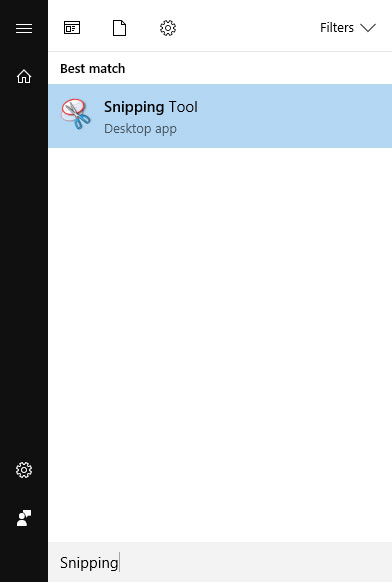
If you want to take a screenshot from select area on your screen then you can use Snipping Tool. Snipping Tool is an advanced screenshot tool available on almost all Windows 10 PC.
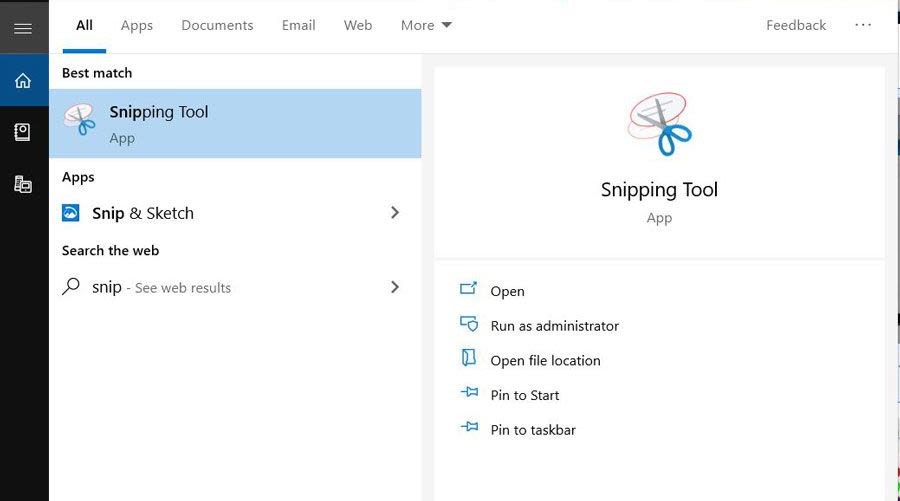
You can use this tool in choosing your content window, image annotation, access to snipping modes, etc. The easiest way to find it is to press the Windows key once and type “Snipping Tool”.
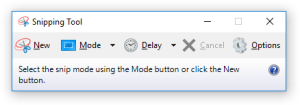
You can set a delay of up to five seconds and pick any section of any window you want.
Snip window sizes can also be adjusted to be square, rectangular, full-screen or free-form, depending on your needs. You can also use the “free-form” mode to take a screenshot in any shape you want.
Open it and click on the “New” button to choose your desired window. After that, you can save it as a file, highlight and annotate it or simply send it through email.
Use the Screen Snipping Feature
This method works in all version of Windows. However in the latest version of Windows , the print screen key can be reassigned to work as a shortcut for opening screen snipping feature. More on this in point 4.
With the latest Windows update (Windows 10 1809 and later), the print screen key can be reassigned to work as a shortcut for opening screen snipping feature and the Snipping Tool is replaced by new, modern screenshot tool called ‘Snip and Sketch’. You can use the shortcut press Windows + Shift + S keys at once to take screenshots quickly.
You can learn more about Snip and Sketch by checking this official video from Microsoft’s website.