How to take a screenshot on a Chromebook
Taking a screenshot is easy to do. This is a good way of sharing images on your screen with someone else, without giving access to your machine. There are a few different ways to take screenshots on a Chromebook, here we’ll go over the most popular methods.
The methods of doing this on a Chromebook are a little bit different compared to Windows PC or a Mac. For example, in Chrome OS there is no Print screen key.
Using the keyboard
You have a few options here: use the Google’s Chrome OS built-in by default screenshot feature, download an app or install a Chrome extension.
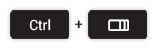
You can take a screenshot by pressing the Ctrl and Window Switcher keys at the same time:
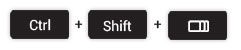
The above combination capture the whole screen. If you only want to capture a specific area of your screen, then you have to add the Shift key to the keyboard shortcut:
Using the menu shortcut

Chrome OS has the option “Take screenshot” to be enabled in the menu. Click on the Settings > More Tools menu:
After you take the screenshot the screen will flash and you’ll see a notification that will appear at the bottom right corner of the screen.
If you click on the notification it will open the corresponding image file in the Chrome OS file manager.
Similar to the others OS the screenshots are saved as .PNG files and are stored in the Downloads folder.
Using the side buttons
If you are using Chromebook is in tablet mode, you can take a screenshot by swinging back the keyboard or by Pressing the Power and Volume Down buttons simultaneously to capture the screen. If you want to capture a part of the screen, use the keyboard combinations described, otherwise this will capture the entire screen.
Take a screenshot with a stylus

Some Chromebooks, like the Pixelbook or Samsung Chromebook Plus (or Pro), or any other Chromebook with an included stylus, you can use this pen to take screenshots with.
When you use the pen, you have a menu of tools available to you in the lower right corner. Inside that menu, you can capture a region of the screen (and use the pen to draw this region), or capture the entire screen. It also allows you to annotate your screenshots.
Using screenshot apps and extensions
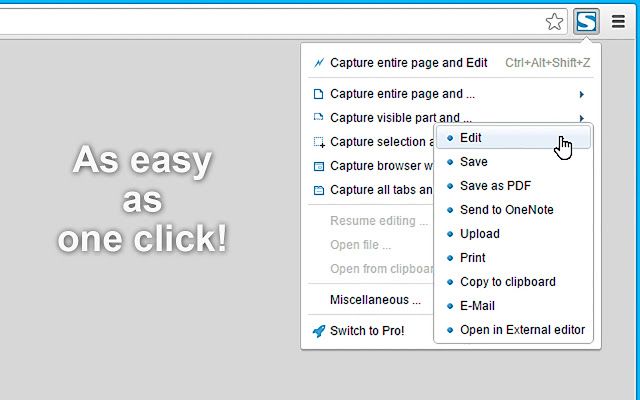
If you want something with more functionality, you can use a screenshot app or extension from Google’s Chrome Web Store.
These are some of the best screenshot apps available FireShot, Lightshot, Awesome Screenshot, SuperChrome, and 1Click Screenshot.
Using an extension, like the Nimbus Screenshot and Screen Video Recorder, capture a screenshot on your Chromebook, but also can record a video of it.
By default Chrome OS will save your screenshots to your Downloads folder with a filename that says “Screenshot” followed by the date and time that the screenshot was taken.
To quickly access the latest screenshot, simply tap on the notification that appears when the screenshot has been taken and it will open the folder and highlight the file.
How to edit your screenshots
Open the Downloads folder on your Chromebook and locate the screenshot you want to edit and double-click to open it.
Tap the pen icon on the screen to enter editing mode.
You have a variety of tools to choose from to edit the image, such as cropping, rotating, and adjusting its brightness.
Tap the pen icon again when you’re done and the changes will be saved.